Boy's Boxers Tutorial Part One
So, I finally started looking into how to make my own patterns because let's face it making your own patterns online is just hip (Hogarth coming through on that one)
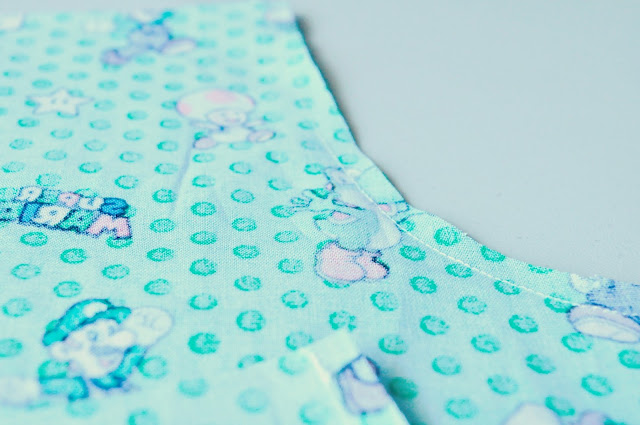
So, I started on something simple a few weeks back Erik, Trent, and I went to SAS (anyone who lives in Arizona knows what I'm talking about), and Trent seen this Mario fabric and asked if he could have new undies. How could I say no to that cute face? I couldn't so I bought only a half yard and I'll be able to make about 3 pairs of new boxers for him.
He was loving that I made him something new, it's been a while, last semester was crazy rough plus work phew. It was a lot to deal with, so I didn't touch my sewing machine for months, it got a bit dusty.
This is the first part of boxer making because let's face it I had a bunch of issues along the way ha when don't I have a bunch of issues. I just pretend I have it all together when in fact I'm a hot mess...for real!!
I drafted a pattern free hand for now but I'm working on an actual download free pattern on the computer that I will upload on the final part. I started with the two patterns above and then chopped off some at the crotch part and I could have taken it in a lot on the sides but like I said it's a work in progress. I just need to be content with what I made so far seeing my son loves them.
Grab your desired fabric mine was Mario which you can never go wrong with and cut two of each pattern pieces mirrored each other.
Take both front pieces and place your fabric right sides together and sew the inseam repeat for the two back pieces. Serge or zig zag seams ends for less fraying to occur.
It should look like this when you flip right sides out.
Once your back and front pieces are sewn, place them together right side together match up your sides and sew them together, don't forget to sew your crotch. Again, Serge or zig zag all sides.
Flip your legs up on the inside so your raw seams aren't showing and sew in place repeat for the other leg.
So here's another part I wanted to lose it at, I didn't realize I didn't have any more of my knit waistband ARGH like seriously? So, I improvised and grabbed this elastic I was using for the girls swimming suits and yeah.....Make it Work (oh Tim Gunn thank you for keeping me sane)
This is all the elastic I had left boo and I was only a inch or two off from being able to use it ugh, so on part two of boy's boxer tutorial i'll show you the right way to make the waist.
Okay rant over... Make a waistband to the size of your elastic, which is clearly tiny lol good grief. Make sure you keep any opening for your elastic to go through.
I still put elastic through the casing the old fashion way, grab a safety pin feed it through the elastic and then push the safety pin through the casing. simple and easy.
Once it's through sew the ends together, just go back and forth on the sewing machine a couple of times. Then pull the boxer's so the elastic goes all the way in the waistband. Next just sew up the opening for the waistband and you're done you have a cute little pair of boxers for your little boy.
Part Two will be posted soon.
To be continued.
AmandaRose


Comments
Post a Comment
I love comments so please tell me what you think, it will make my day!